Are you struggling to find a perfect extension cord for yourself but couldn’t find one? Maybe the one you have is expensive or too short. No worry, we got you. You can make your extension cord with simple tools and a few materials.
In this beginner DIY guide, we will discuss the step-by-step process of making a DIY extension cord that is both good to work and safe to use.
But before we start, why should you make your extension cord? Because, if you make your extension cord you can choose the size of the plug, and the length and decide whether it’s waterproof. Also, it is a fun DIY project for anyone interested in electrical work. Always remember that safety is always your priority. So make sure to use the correct materials and follow the steps carefully to avoid any type of danger.
Before we start collect all the necessary tools and material:
- Wire stripper
- Wire cutter
- Electrical wire
- Electrical tape or Heat-Shrink Tube
- Screwdriver
- Multimeter (used for testing)
- Male and female plugs with screw terminals attach
What type of plugs and wires should you use?
A 16-gauge wire will work in most household projects but a 14-gauge wire is best to power large devices. In the case of plugs, standard grounded plugs are best, but if you need them or tighter spaces you can also choose angled plugs.
Understanding Electrical Ratings
Importance of Voltage and Amp Ratings:
The extension cords are rated based on different voltage amp capacities.
Most of the home appliances have the requirement of 15 amps and 120 volts to work. Always make sure to check the electrical specifications of the devices before connecting the extension cord.
Selecting the Right Wire Gauge:
It depends on the thickness or “gauge” of the wire and how much the wire can safely handle. If the gauge number is low it means the wire is thicker and has a higher capacity. On the household level, 16 or 14-gauge wires are good, but consider a 12-gauge wire for the high-power tools.
Step of Making a DIY Homemade Extension Cord
Step 1. Measure the Length of the Cord:
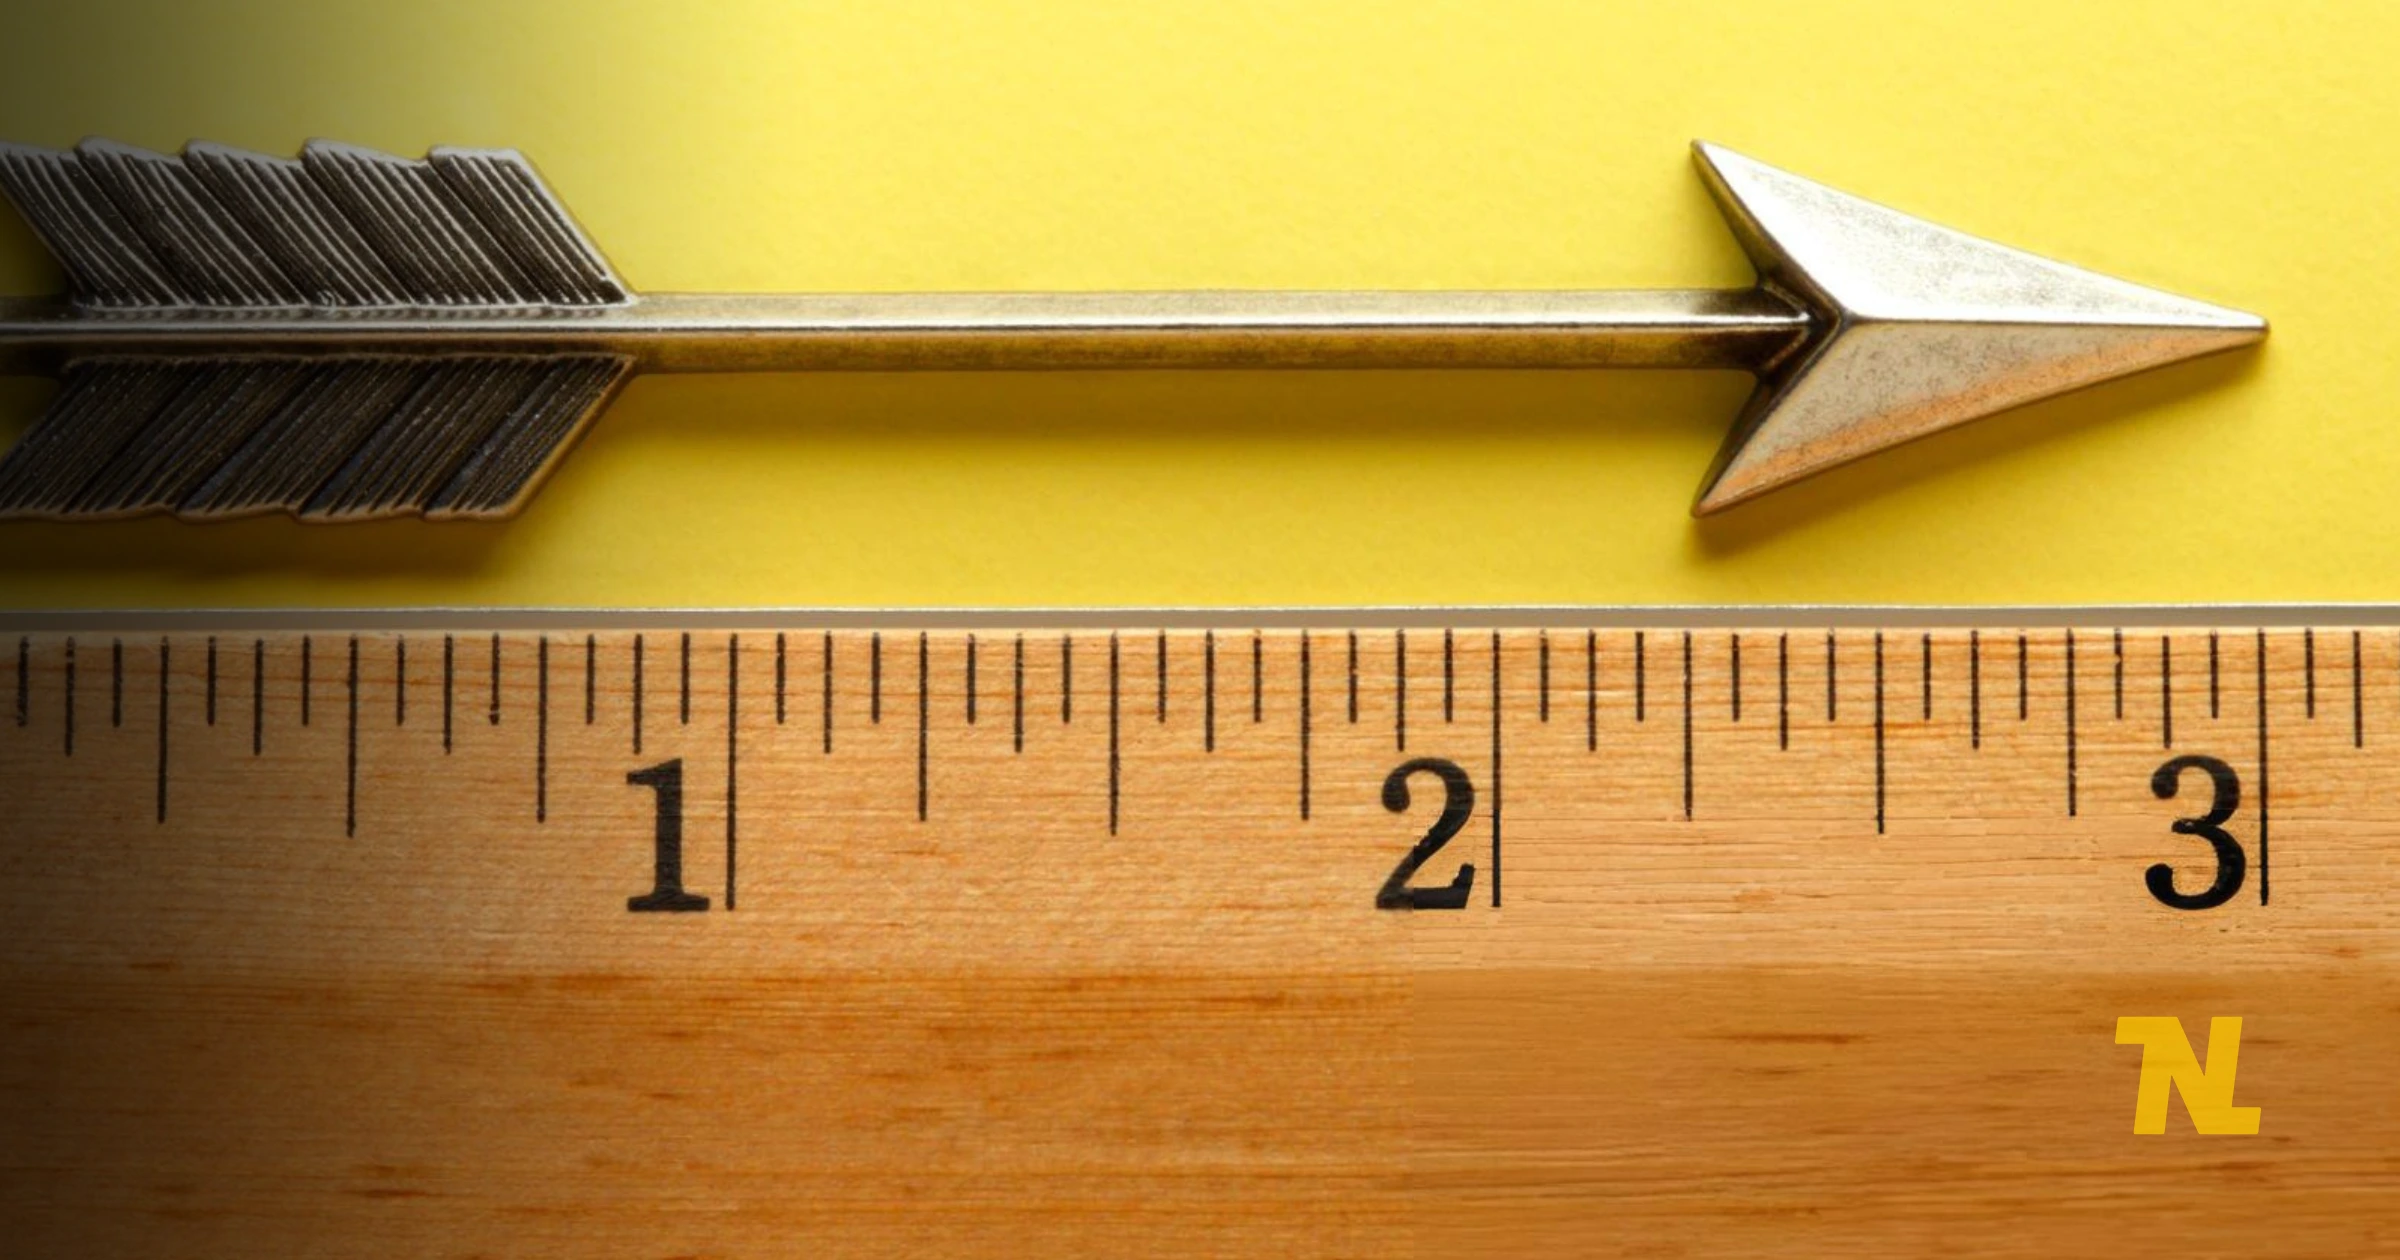
The first step is to decide the length of the extension cord. Calculate the distance between the device and the power outlet to decide the length.
Step 2. Cut the Cord to Size:
Cut the wire to the desired length by using your wire cutters. Make sure that both ends are even and clean.
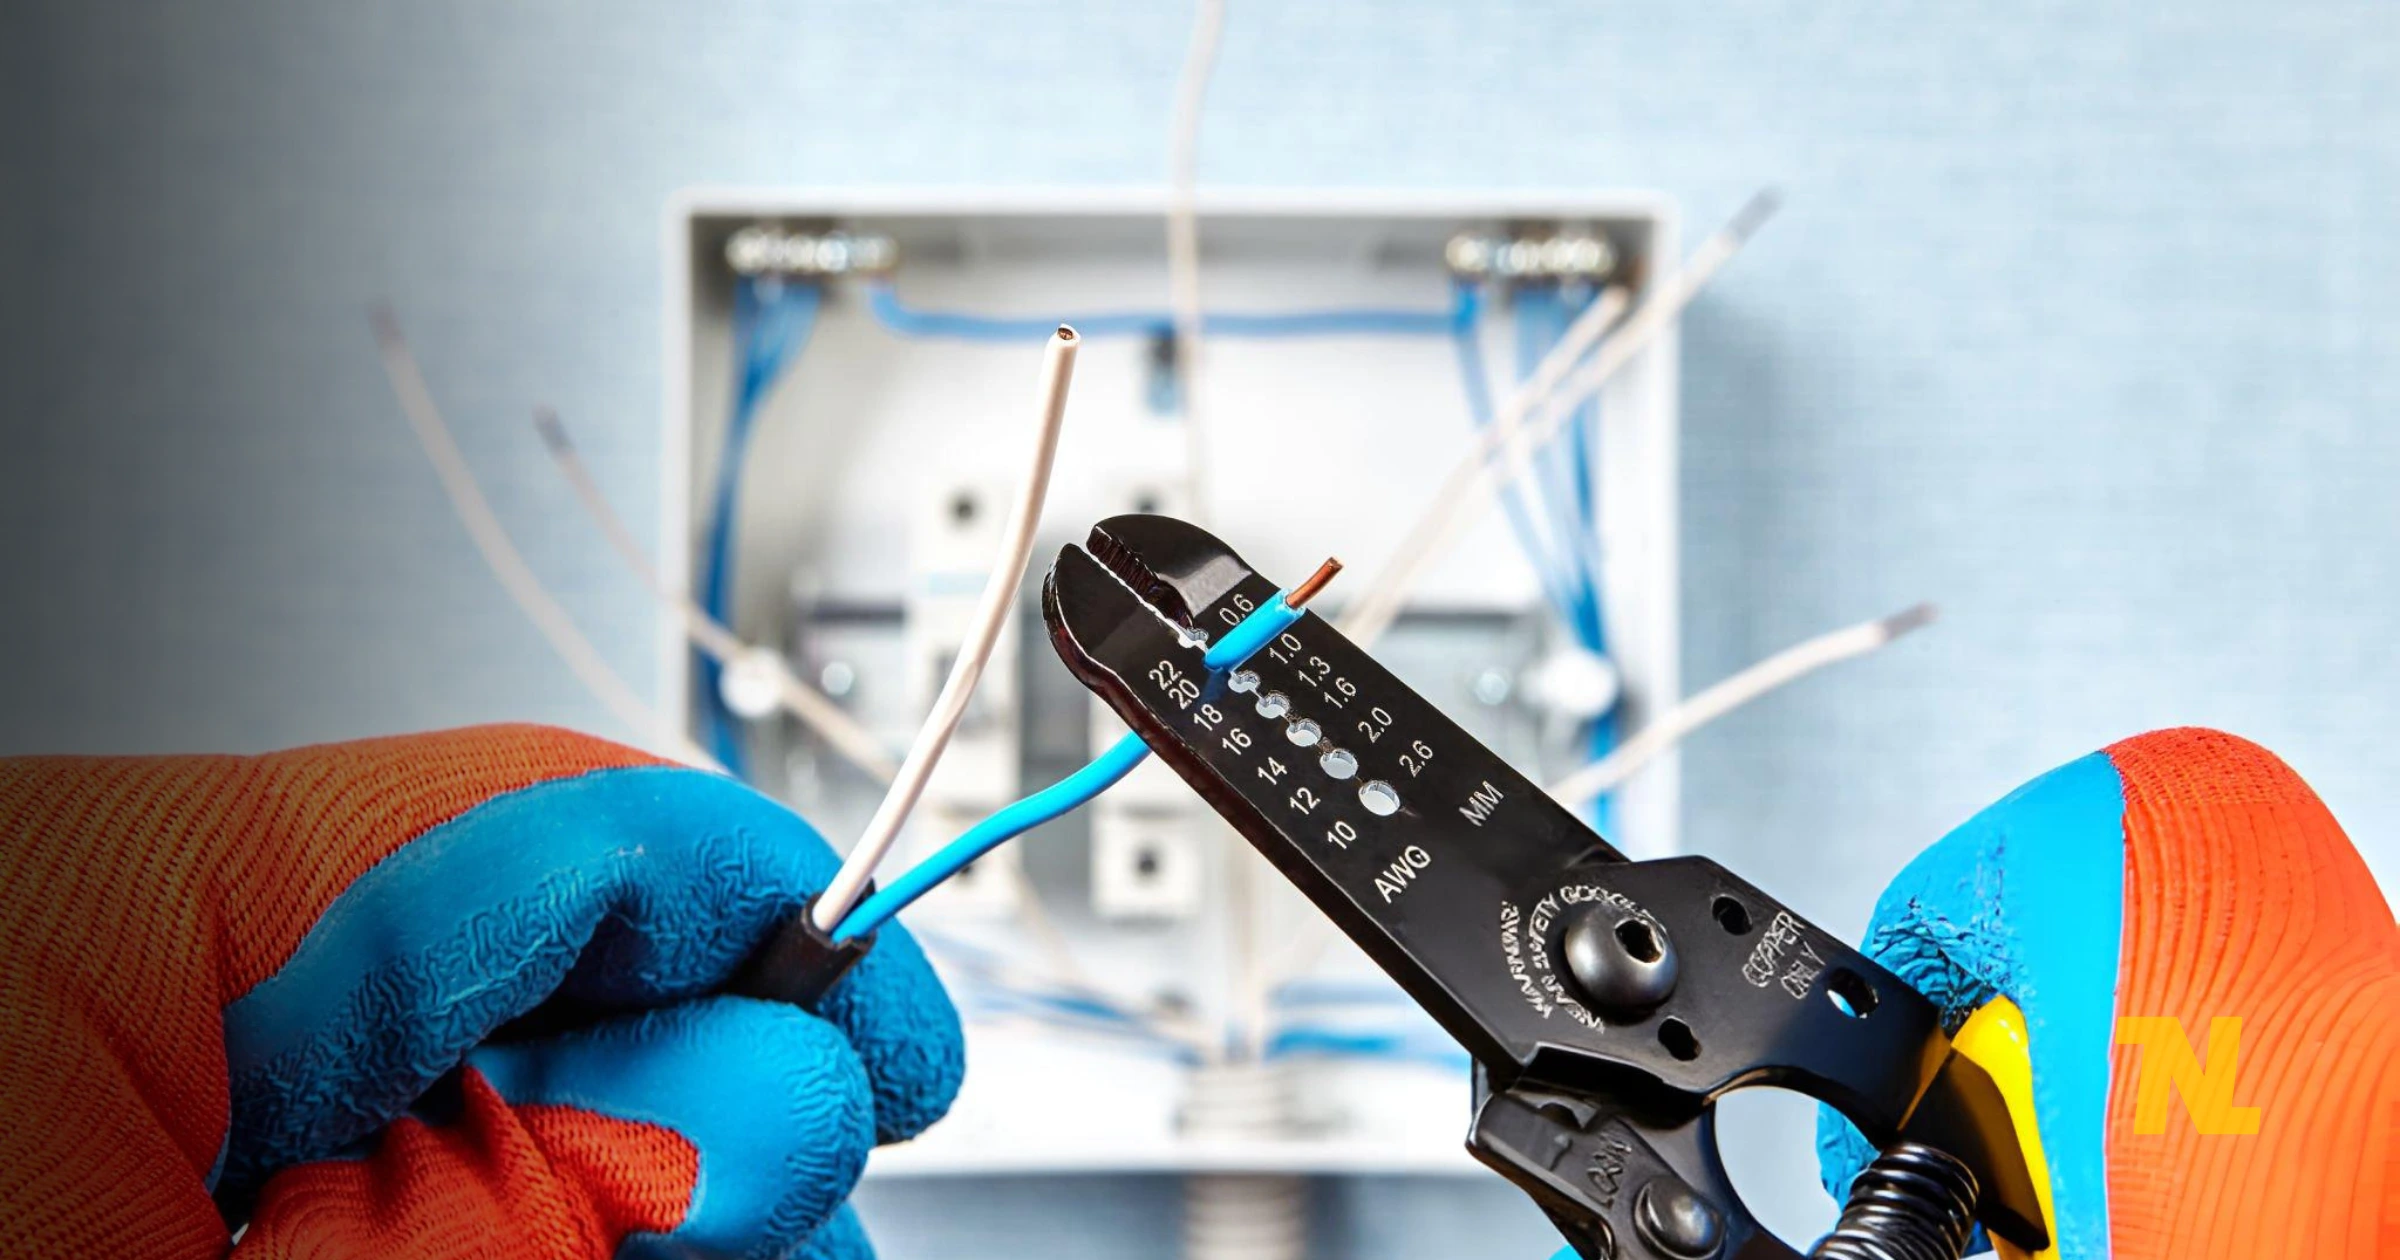
Step 3. Strip the Insulation:
After that, remove the ½ inch of insulation from both ends of the wire with the help of a wire stripper. Don’t cut through the copper strands be careful.
Step 4. Attach the plug to One End:
Pick the male plug and with the help of the screwdriver open it. Place the stripped wires into their terminals: the white wire goes to the silver terminal, the black wire goes to the brass terminal, and the green wire goes to the ground terminal.
Step 5. Connect the Socket to the Other End:
Repeat the same step for the female socket. Attach the wires to their respective terminals same as you did before.
How to wire the extension cord correctly?
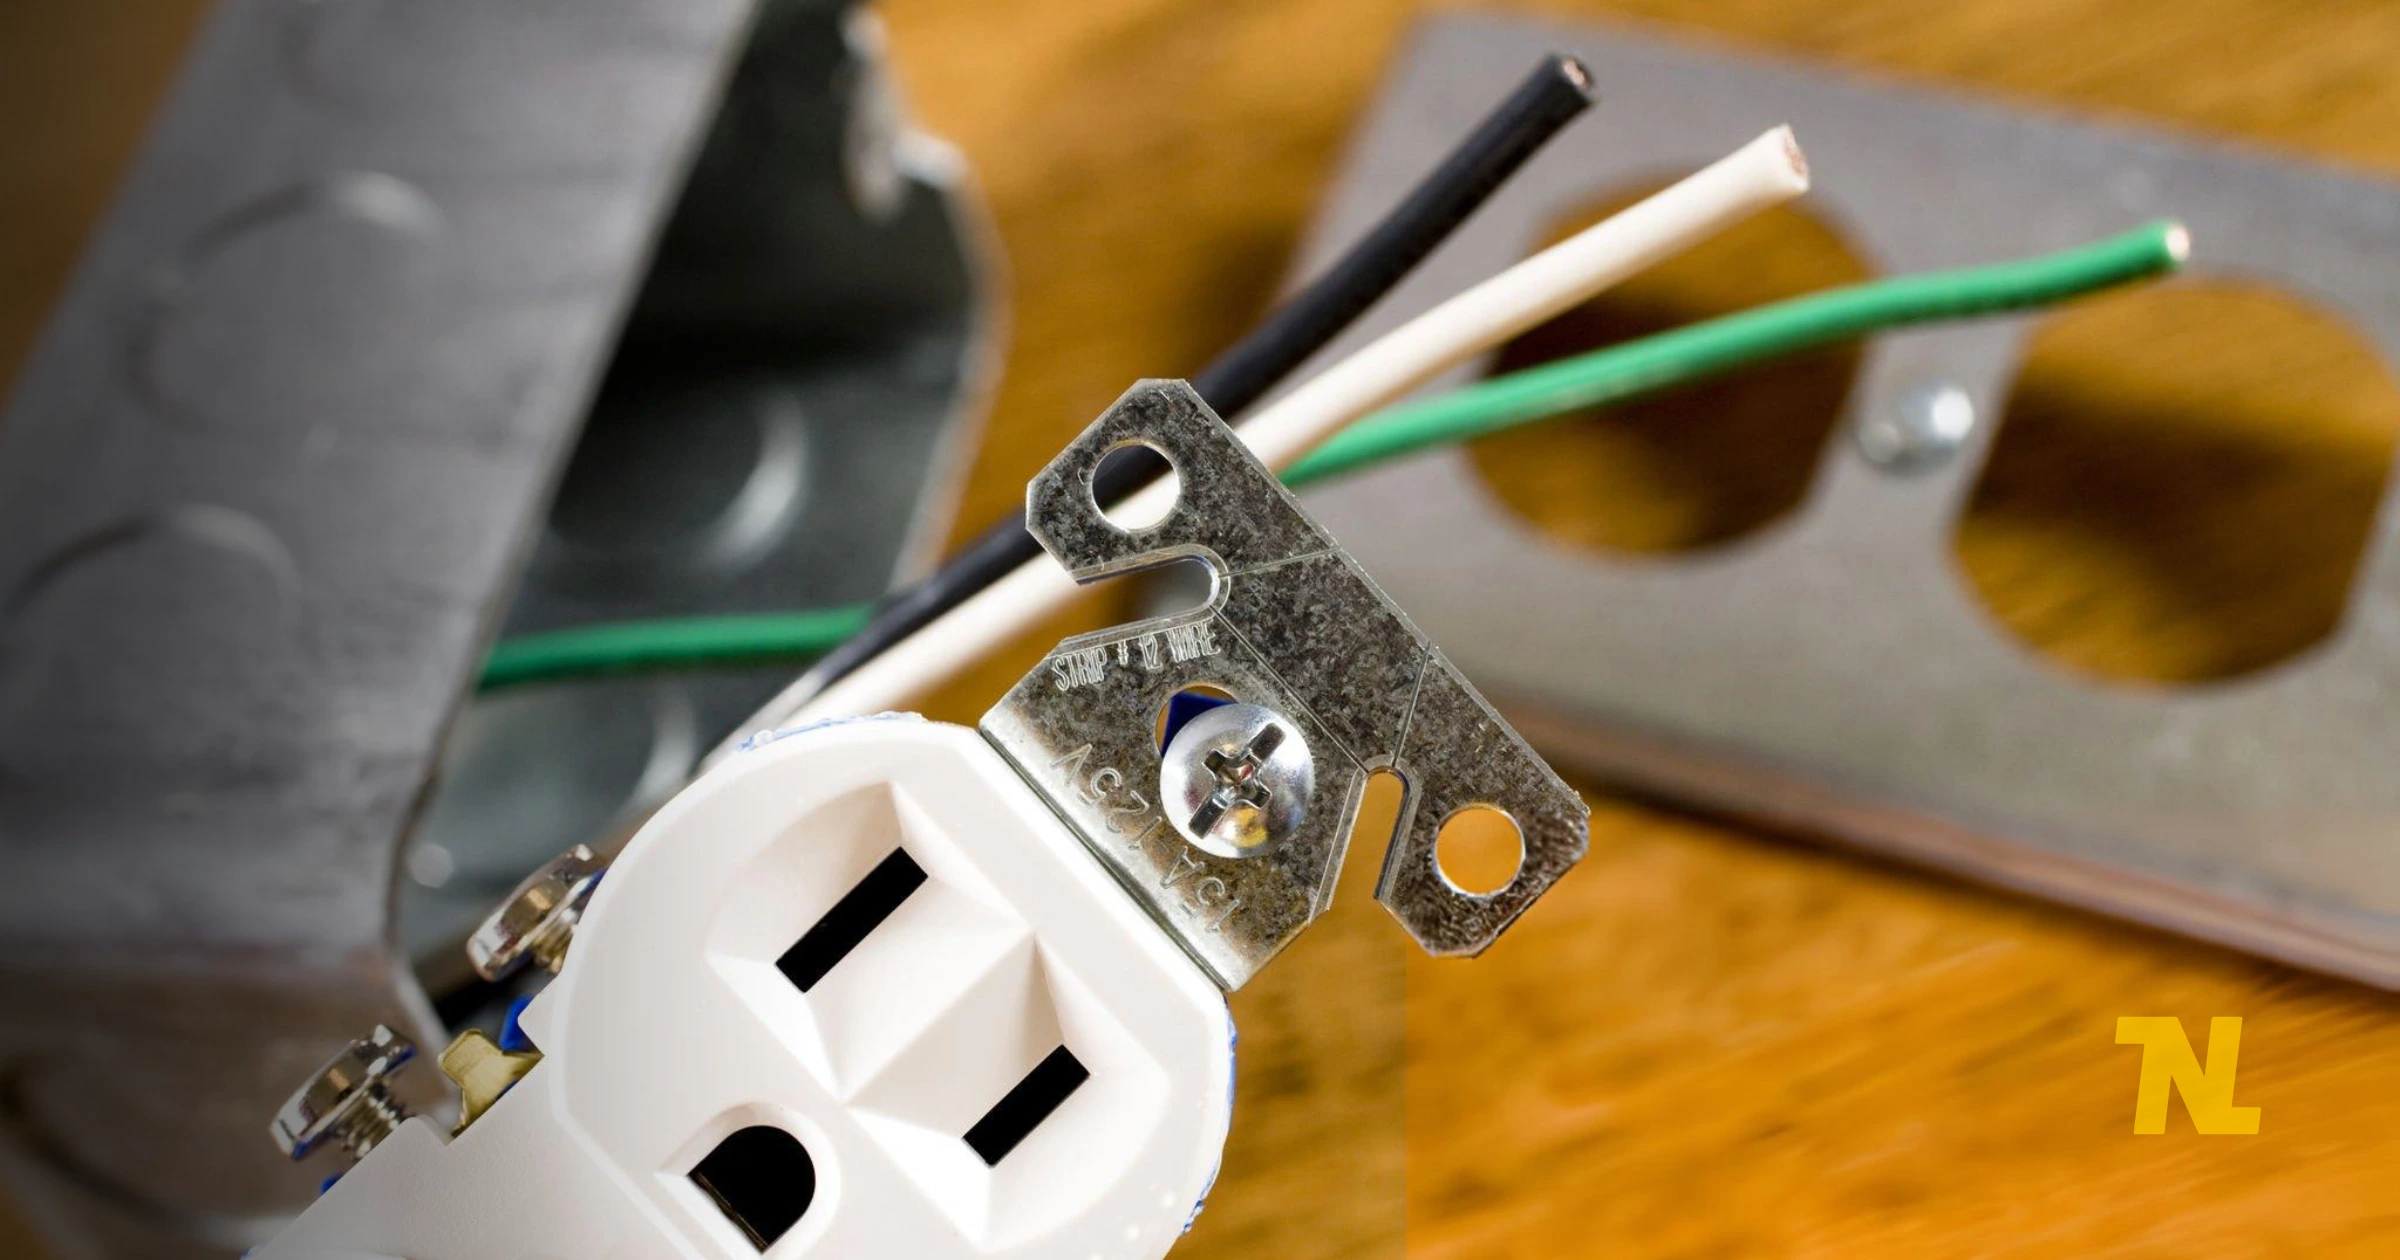
Wires Colour Coding:
It is very important that you know the colour coding. Usually, there are three wires: the green wire is ground, the black wire is hot, and the white is neutral. Before connecting the wires always double to make sure that you do this the right way.
Connect Wires Properly:
Ensure that all the wires are connected tightly to the terminal screws and to avoid the short circuit make sure that there is no exposed copper.
Securing the Connections
Why it is important to tighten screws?
After connecting the wires use a screwdriver to fasten all the terminal screws as loose connections can cause electrical shorts or overheating.
Look at Loose Wires:
Loose wires can cause big safety hazards. So make sure to look at each wire that it’s attached securely to.
Covering and Insulating the Wires
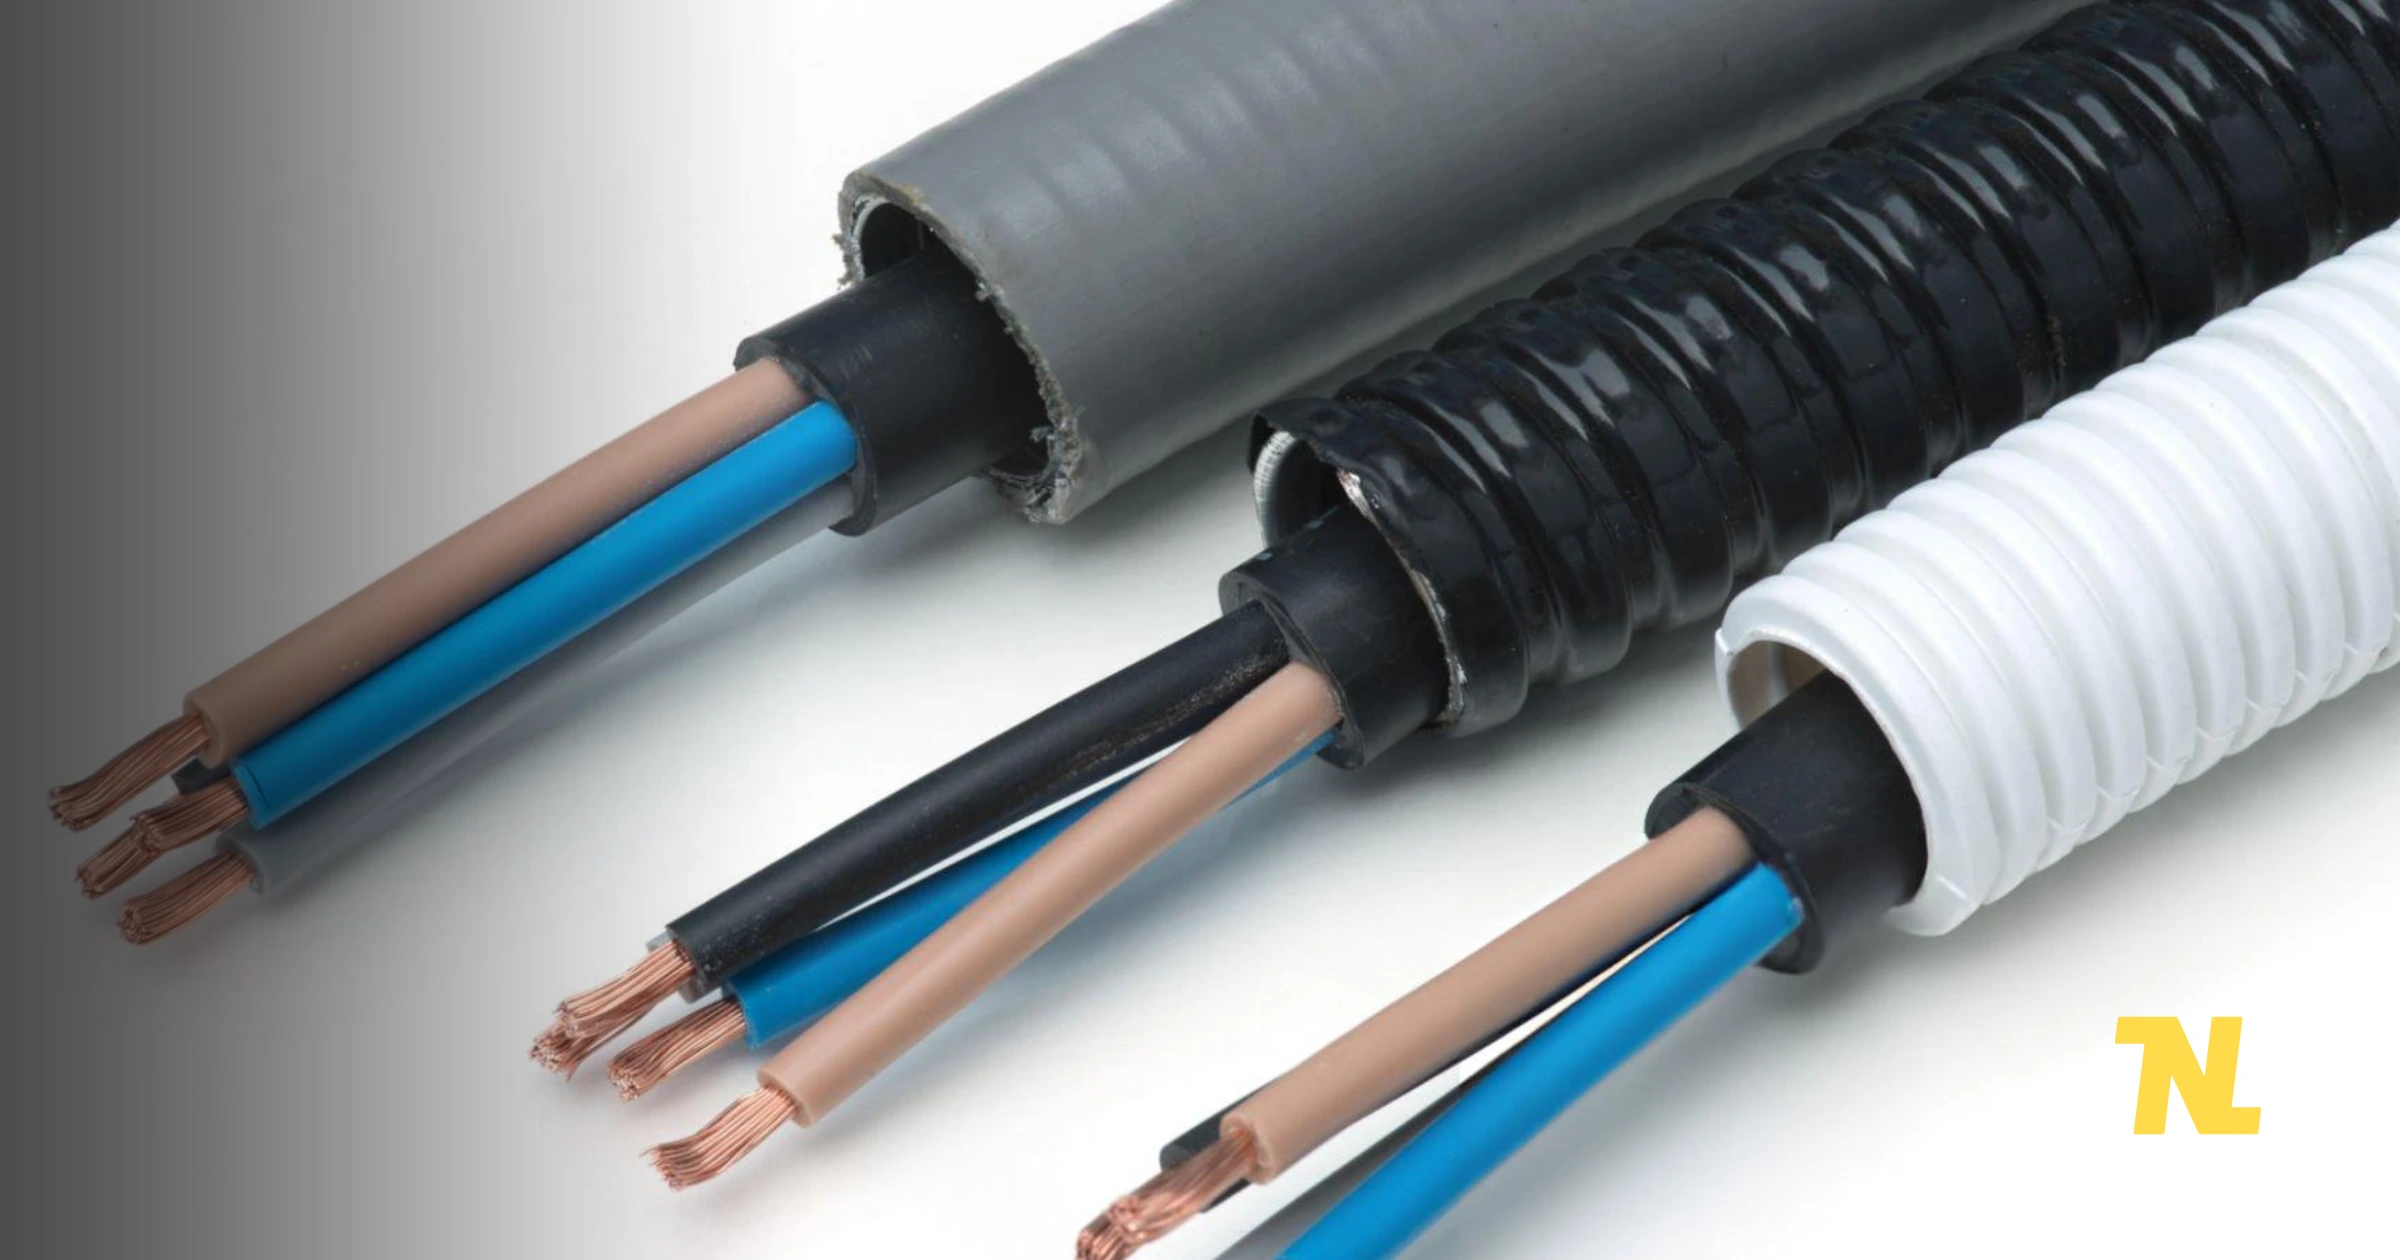
Use Electrical Tape for Safety:
To prevent any contact with external surfaces wrap electrical tape around the connections. Ensure that there are no wires left that are exposed.
How to do heat-shrink tubing:
Another option for insulating the connection is heat-shrink tubing. Before connecting, slide it over the wire and shrink it in place with the help of a heat gun after making the connection.
Testing the Extension Cord
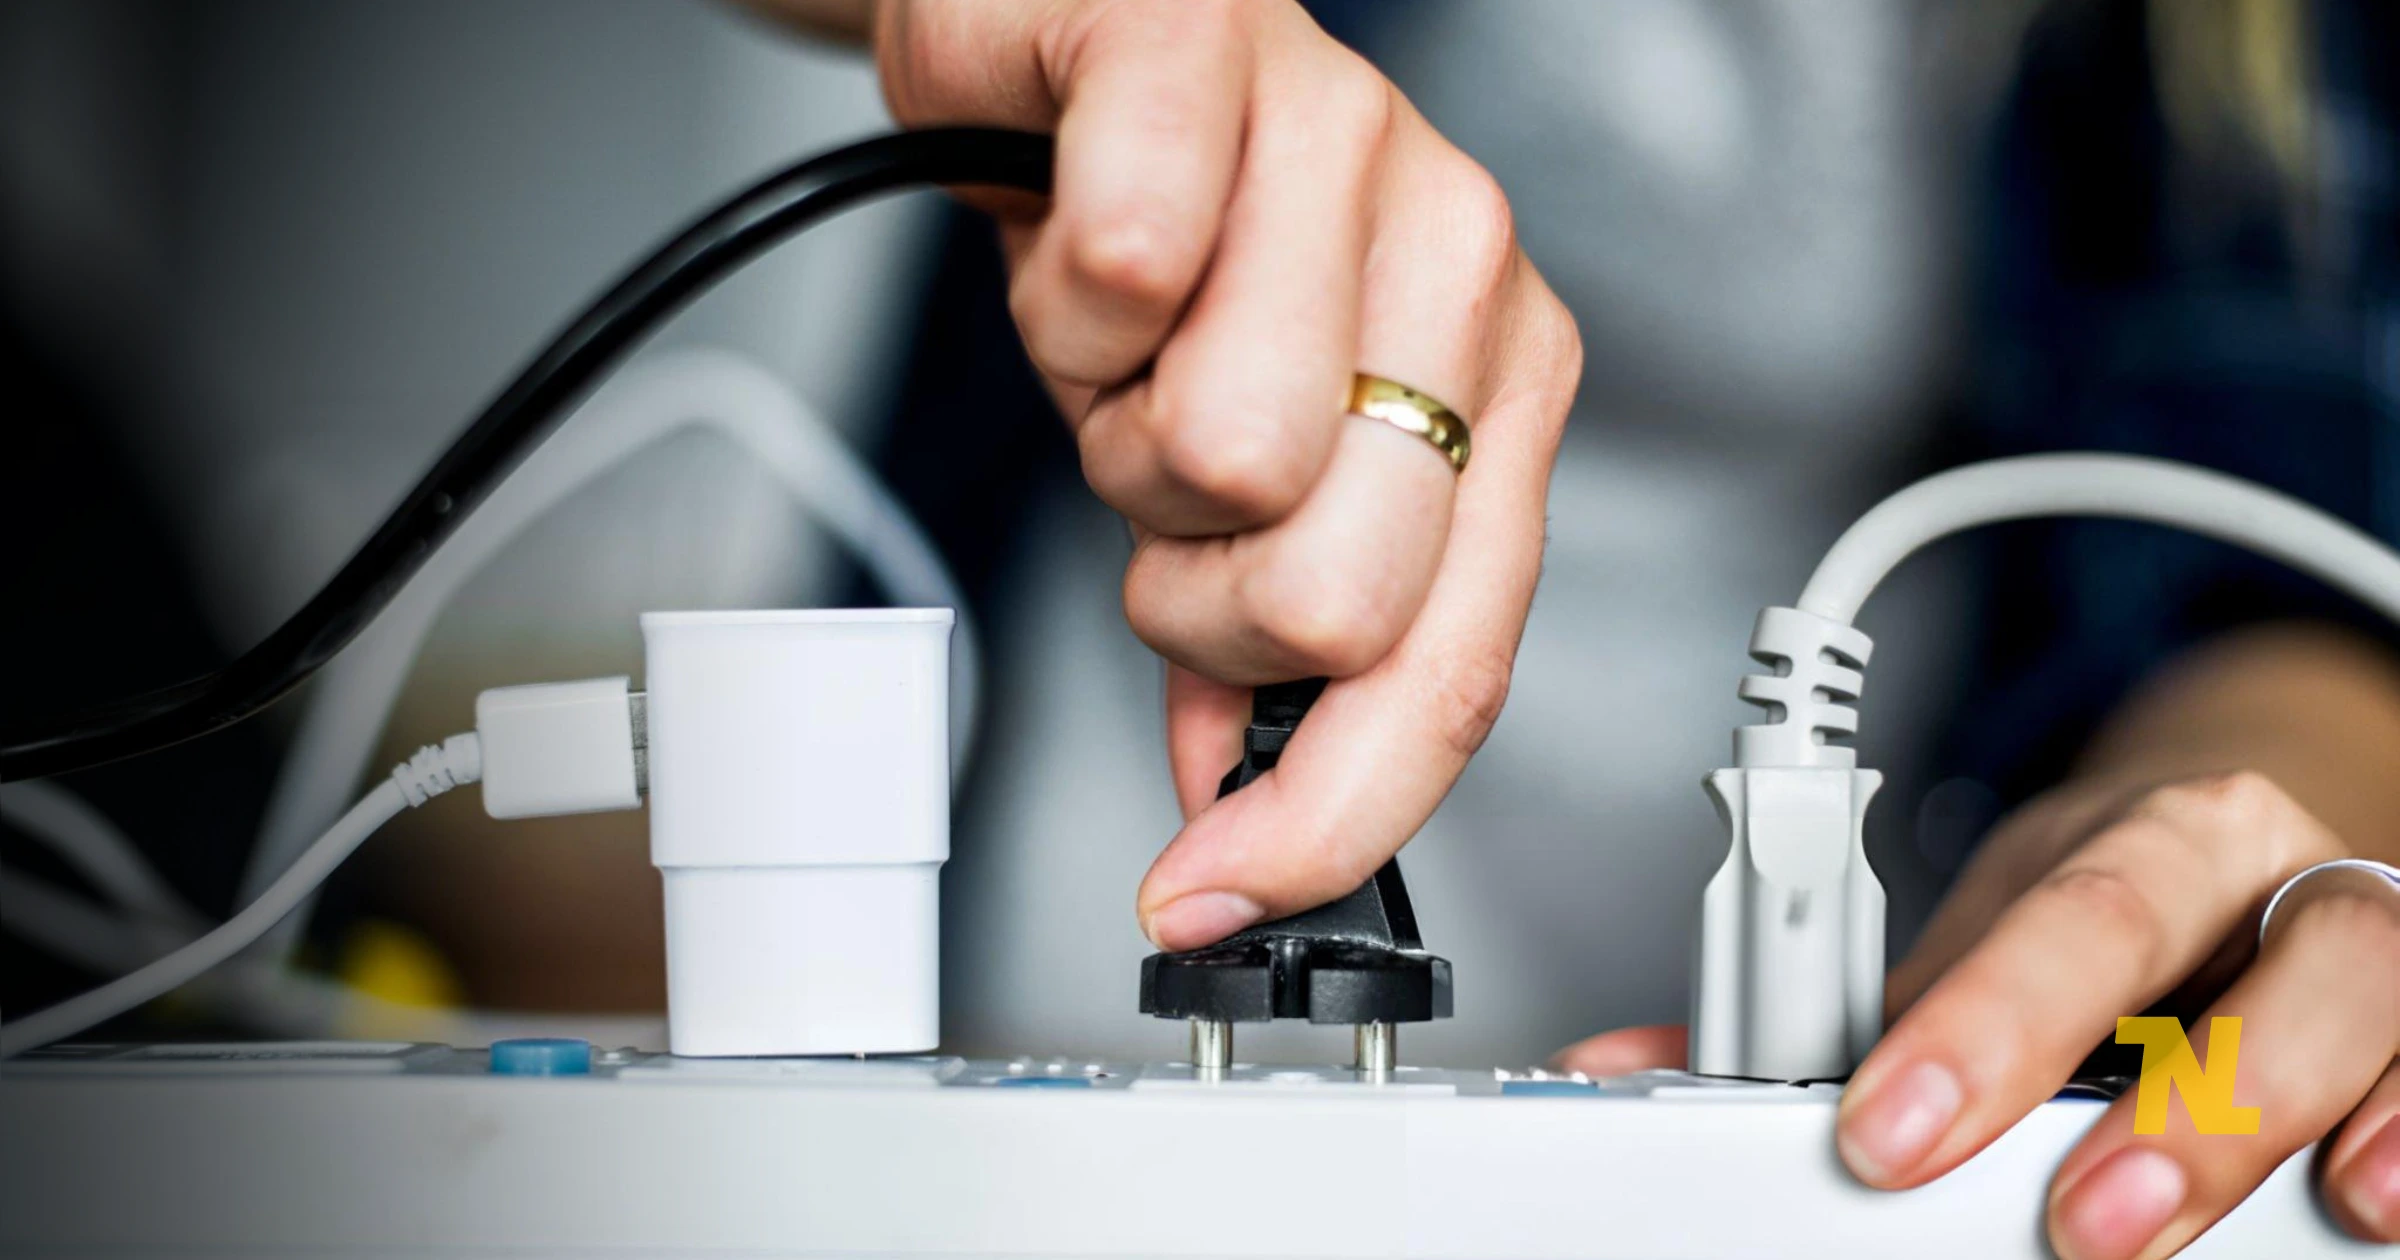
How to do a Continuity Test on Cord:
Test it using a multimeter before plugging in your homemade extension cord. Check for any breaks in the wire by setting the multimeter to continuity mode.
Check for Short Circuits:
A short circuit damages your devices and can be threatening. Ensure that no wires come into contact with one another.
Solve Common Problems
What to do if the extension cord doesn’t work:
Check for loose connections or breaks in the wire if your extension cord is not working. Reattach the plug and if this didn’t work re-strip the wire.
Faulty Connections Identification:
A simple issue such as a mismatched wire or a loose screw sometimes causes the cord not to function. Before supposing a more significant problem always double-check the connections.
Safety Measures or Using a DIY Homemade Extension Cord
Prevent Overloading:
Avoid plugging in too many high-power devices at once to prevent overload. This can potentially start a fire or cause the wire to overheat.
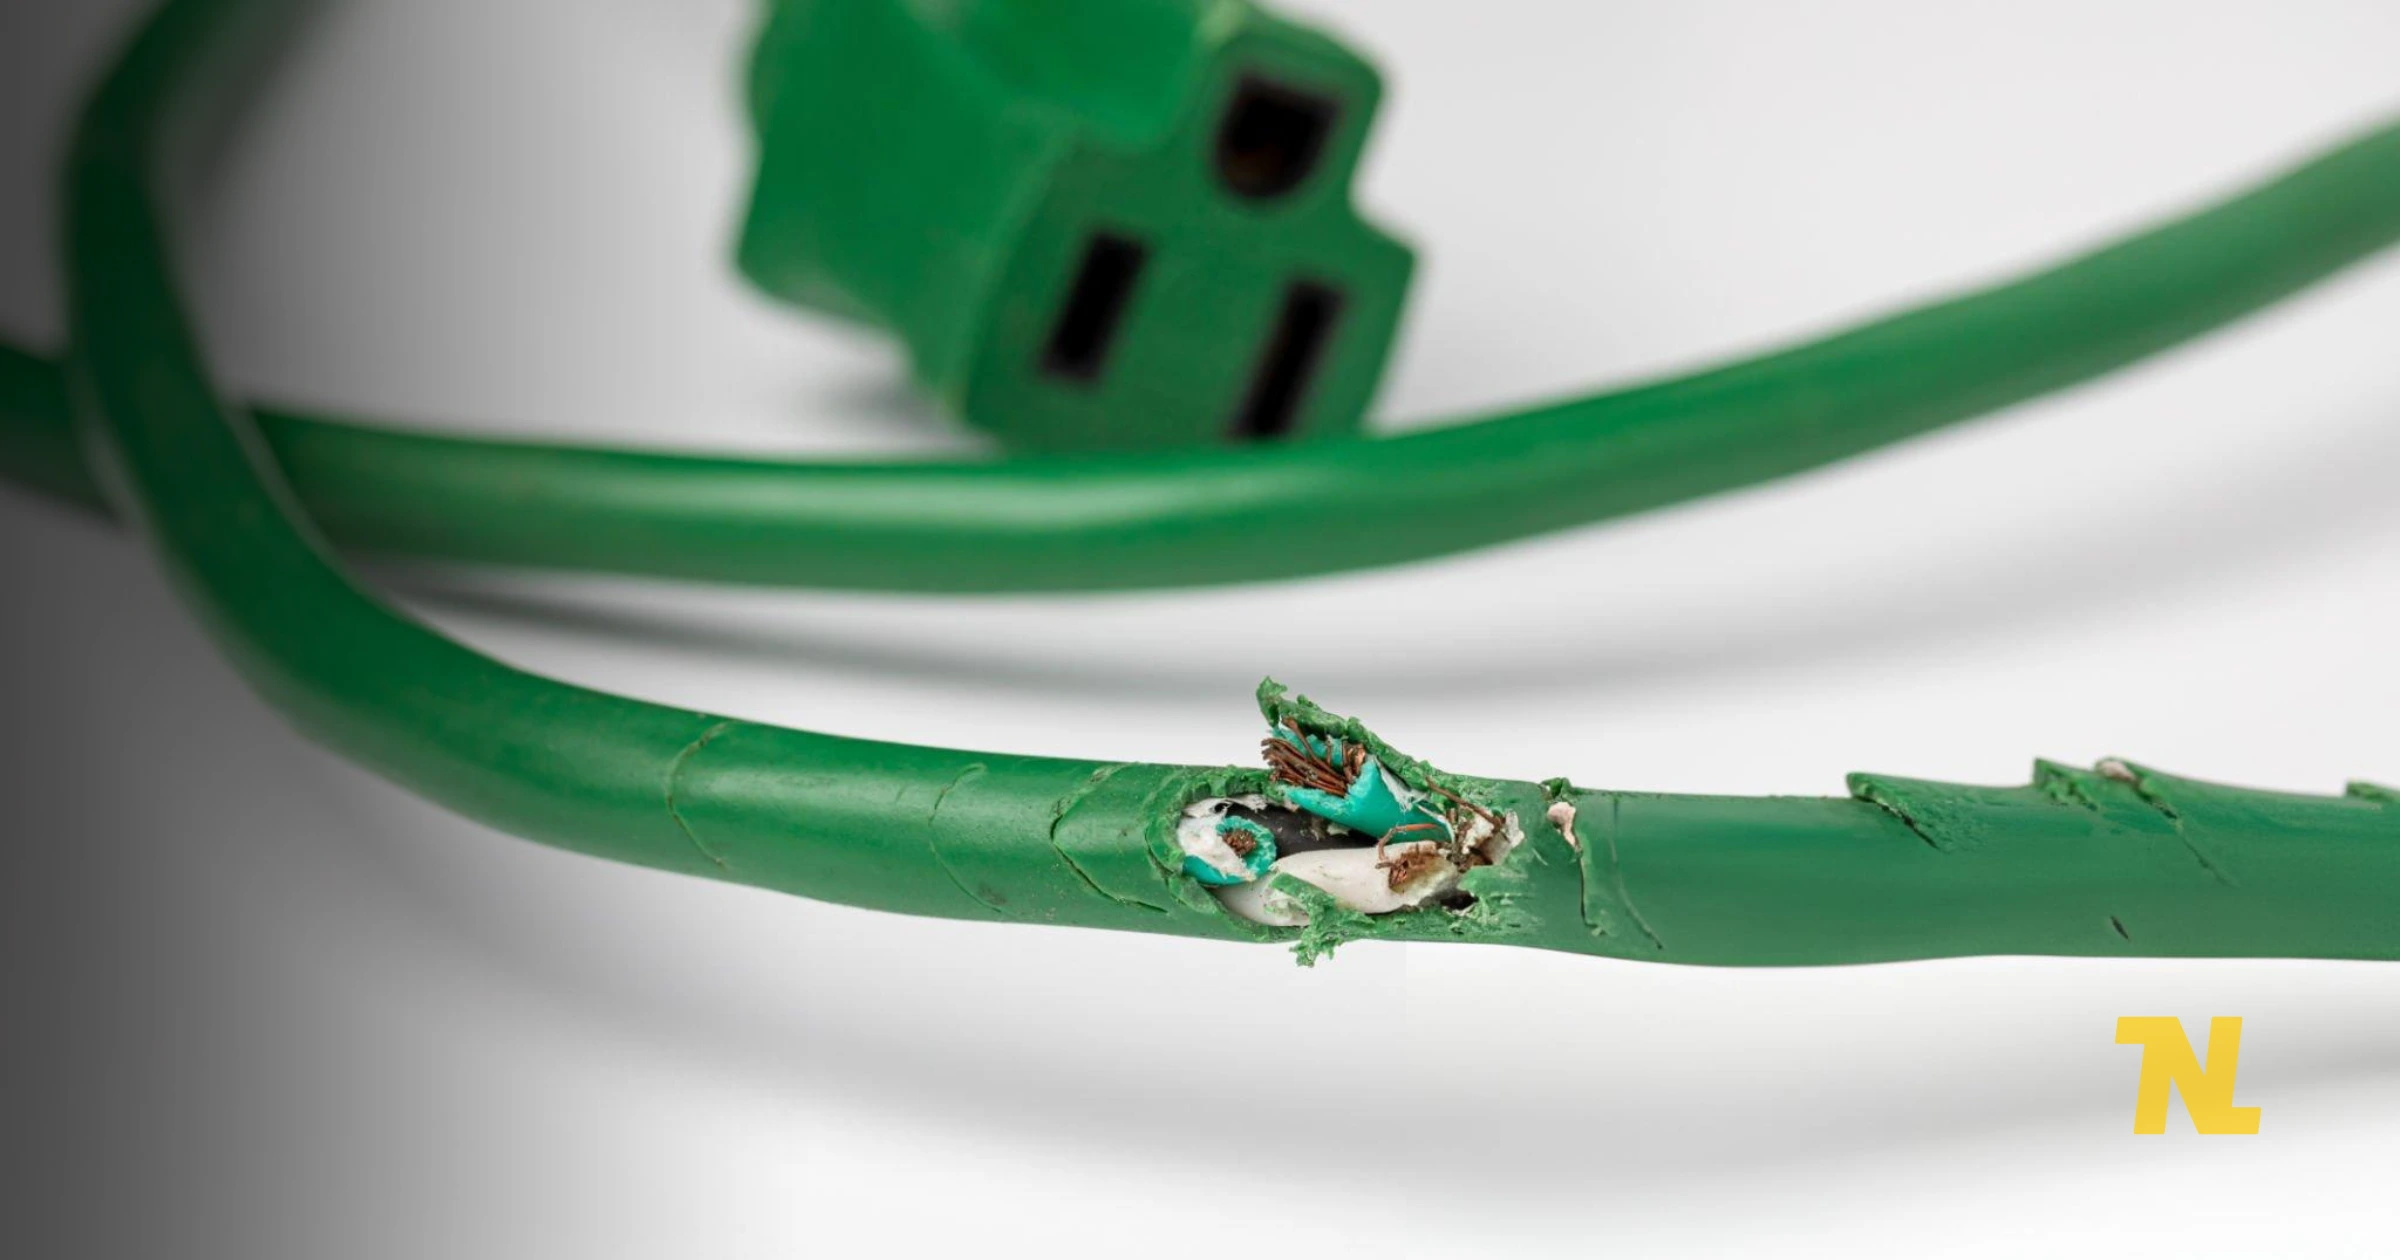
Frequent Maintenance:
Check for signs of damage on your cord regularly. When the insulation begins to break it’s time to replace or fix the cord.
Tips for Customization
Multiple Sockets:
Along the length of the cord, you can install multiple female sockets to add functionality. After doing this you can plug in multiple devices at once.
Make it Waterproof:
If you plan you use the extension cord outdoors, use waterproof sockets and plugs. For extra protection, you can also cover the connections with the waterproof tape.
Homemade Extension Cord Cost
Is it less expensive than purchasing one?
Usually, making your extension cord can be more cost-effective, mostly if you want specific features like angled plugs, waterproofing or a longer cord.
Where to look for low-cost materials:
Second-hand shops, hardware stores and online marketplaces are best to look for low-cost material for your project.
Impact on Environment
Resuing Material to reduce waste:
You can reuse your old electrical cords or plugs that are lying around to make a new extension cord and reduce waste.
Use Eco-friendly Electrical Methods:
To minimize your carbon footprint you can choose eco-friendly electrical tape or other materials.
When to Change the Extension Cord
Signs of Damage:
If you notice burn marks or overheating or if the insulation begins to break you can replace the cord.
When you should Upgrade:
If you are powering high-end equipment it’s better to invest in a new extension cord that is professionally made.
If you make a homemade extension cord this is rewarding and allows you to customize its length and features according to your needs. You can create a safe and functional extension cord by following the steps in this guide. Always follow safety measure, avoid overloading and test your connections.
